As the components are still arriving, we are already preparing to assemble and modify the frame. This frame will serve as the skeleton of the simulator, as everything from the steering wheel, seat and monitors to the computer and other elements will be mounted on it.
First, we combine the two lower parts and fasten them with M8 screws. Then comes the modification. We have to drill new holes in the middle part, as the original monitor stands are too low. Additional holes must also be drilled directly into the monitor stand to achieve the total distance of 17cm we need. These holes are then filled with riveted M8 nuts and we continue with the assembly of the middle and upper parts.
We also replace the standard static legs with lockable wheels so that the simulator can be easily moved. Six brakes will help keep it securely in place when needed.
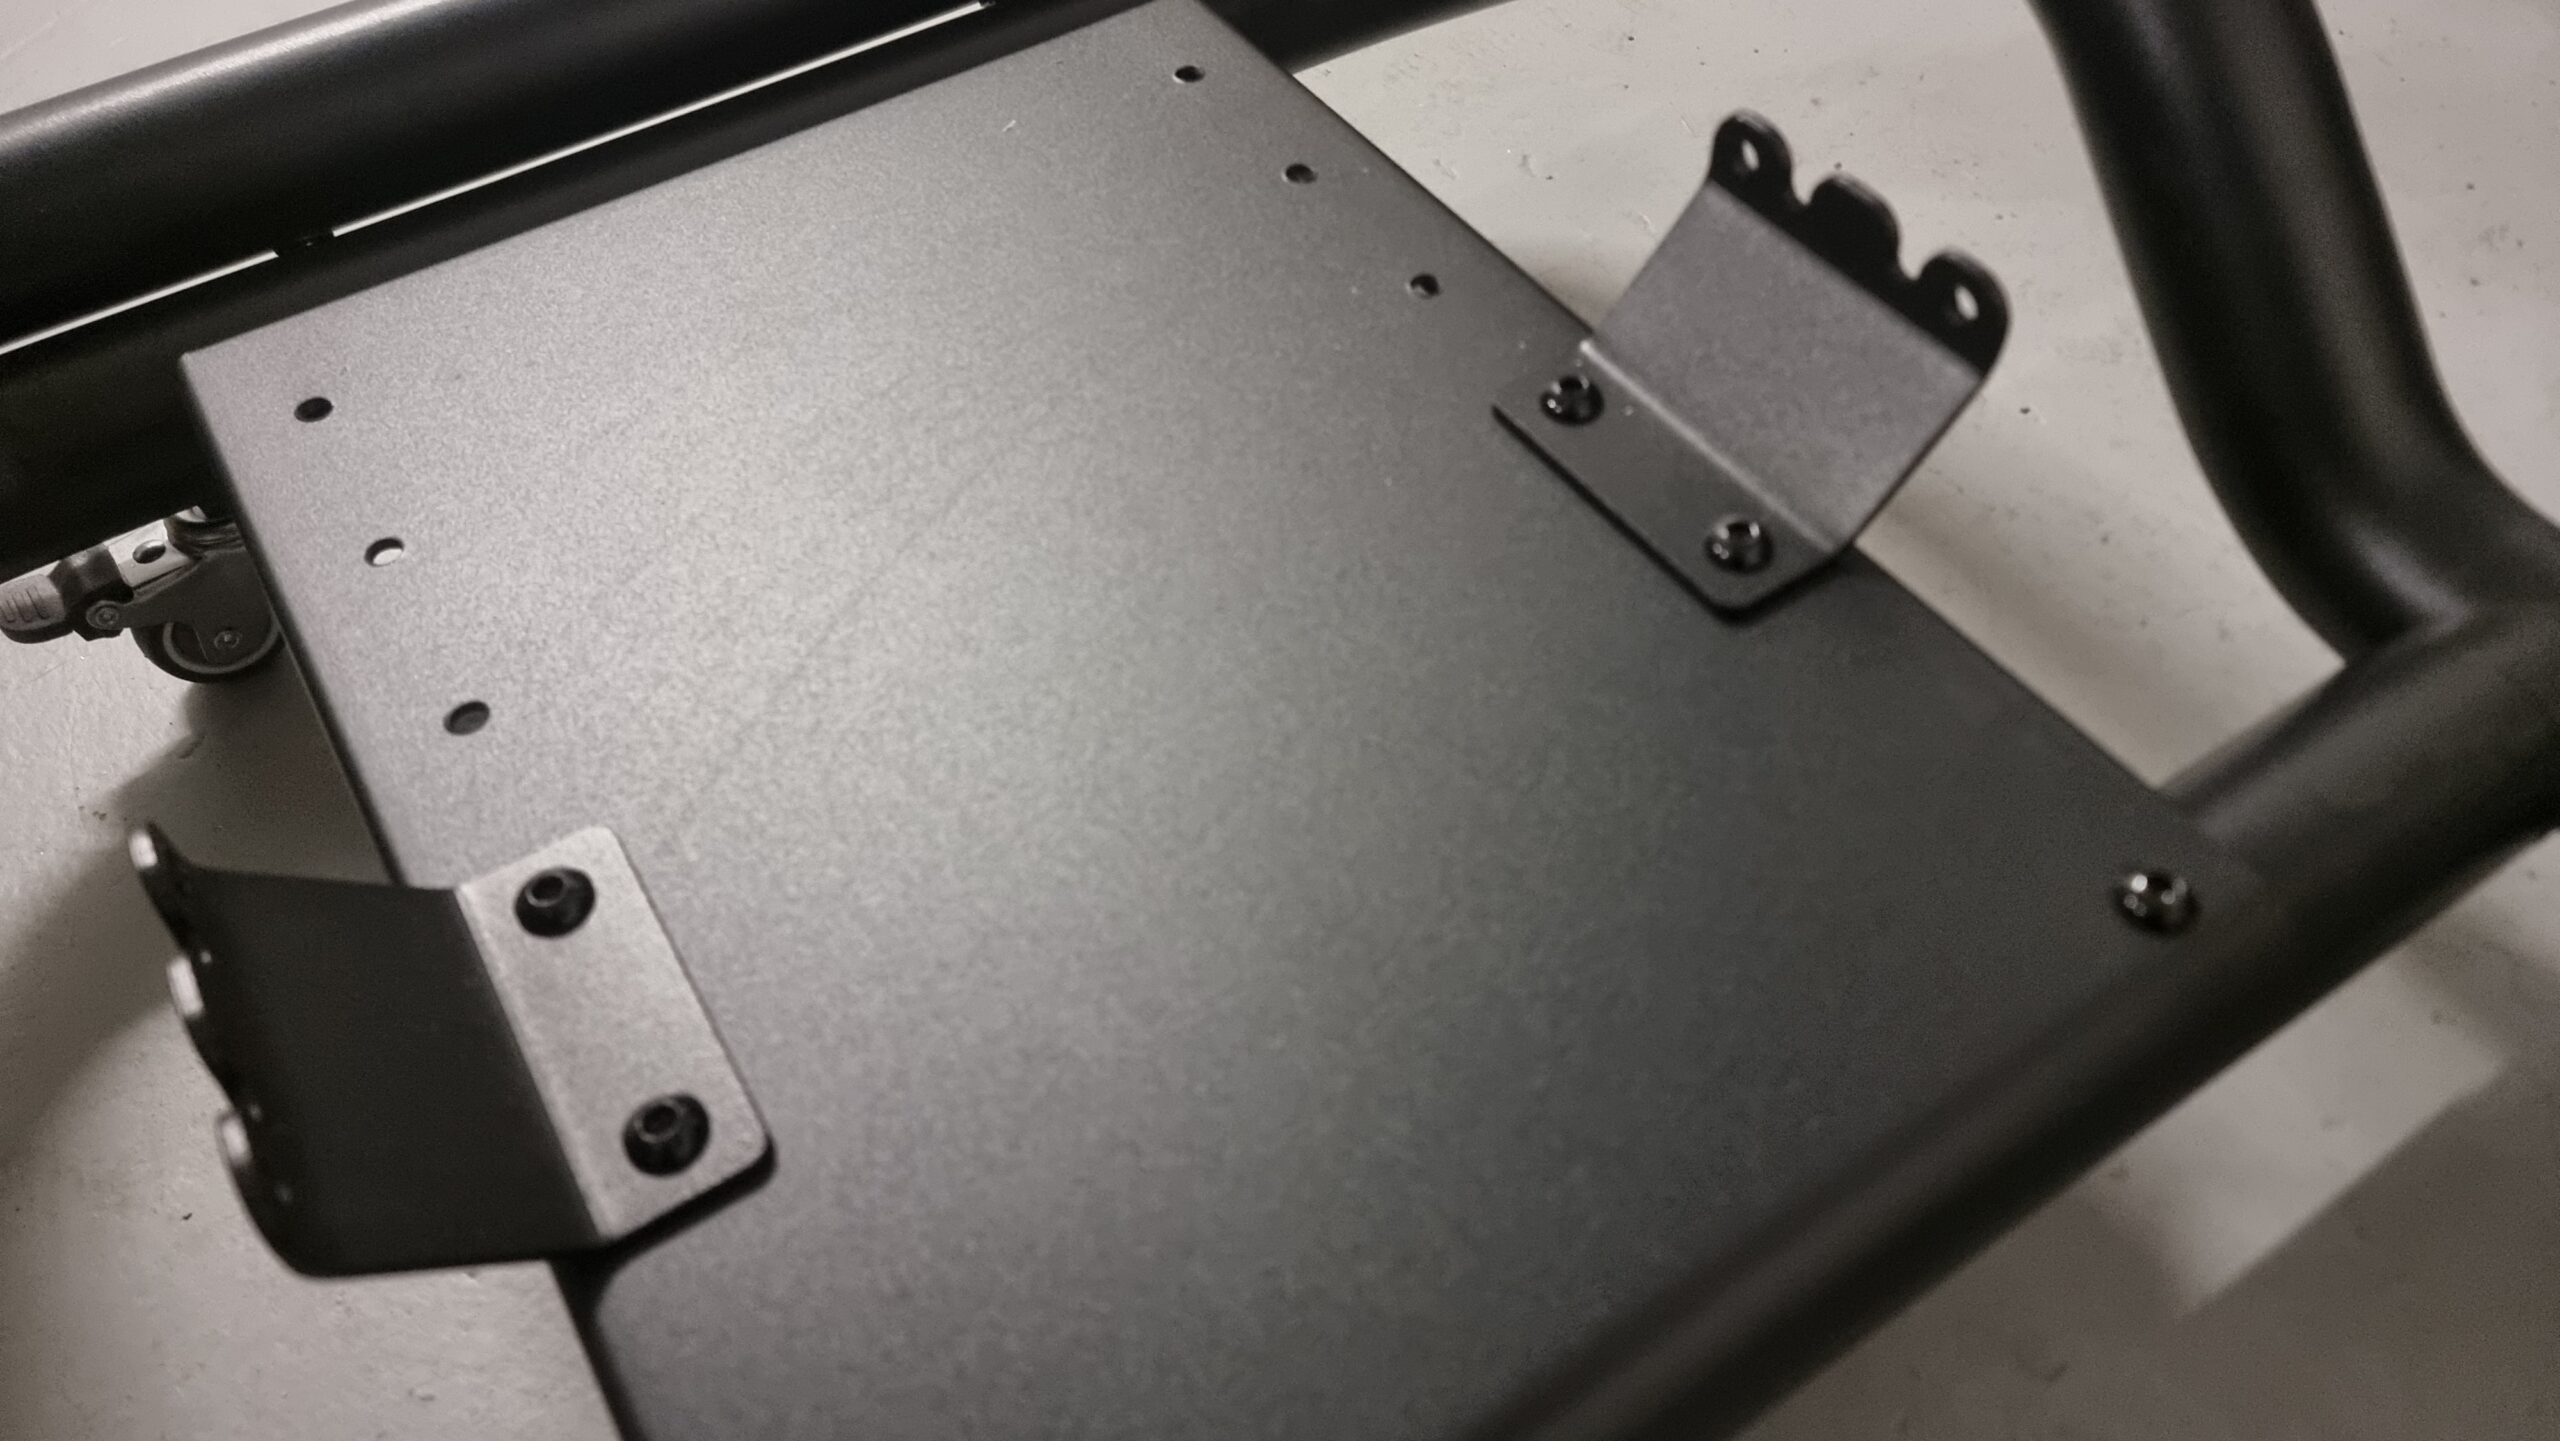
The original position of the seat is moved slightly forward, for which eight new holes must be drilled and riveted. It is now ready for a booster seat and seat sliders that allow for customization to the driver’s needs.
Finally, we install the frame for attaching three monitors, which completes the base of our simulator.
Next comes the assembly of the computer – which will not only be a standard assembly, but an integrated solution within the simulator itself.


