In this third part of the SIM83-TS01 truck simulator build, we focus on the heart of the system – its brain, the computer.
This is no ordinary computer installation. Instead of a standard case, all components are mounted directly on a transparent acrylic plate. This design choice is part of our mission to fully integrate every part of the simulator into a complete, functional and visually stunning unit.
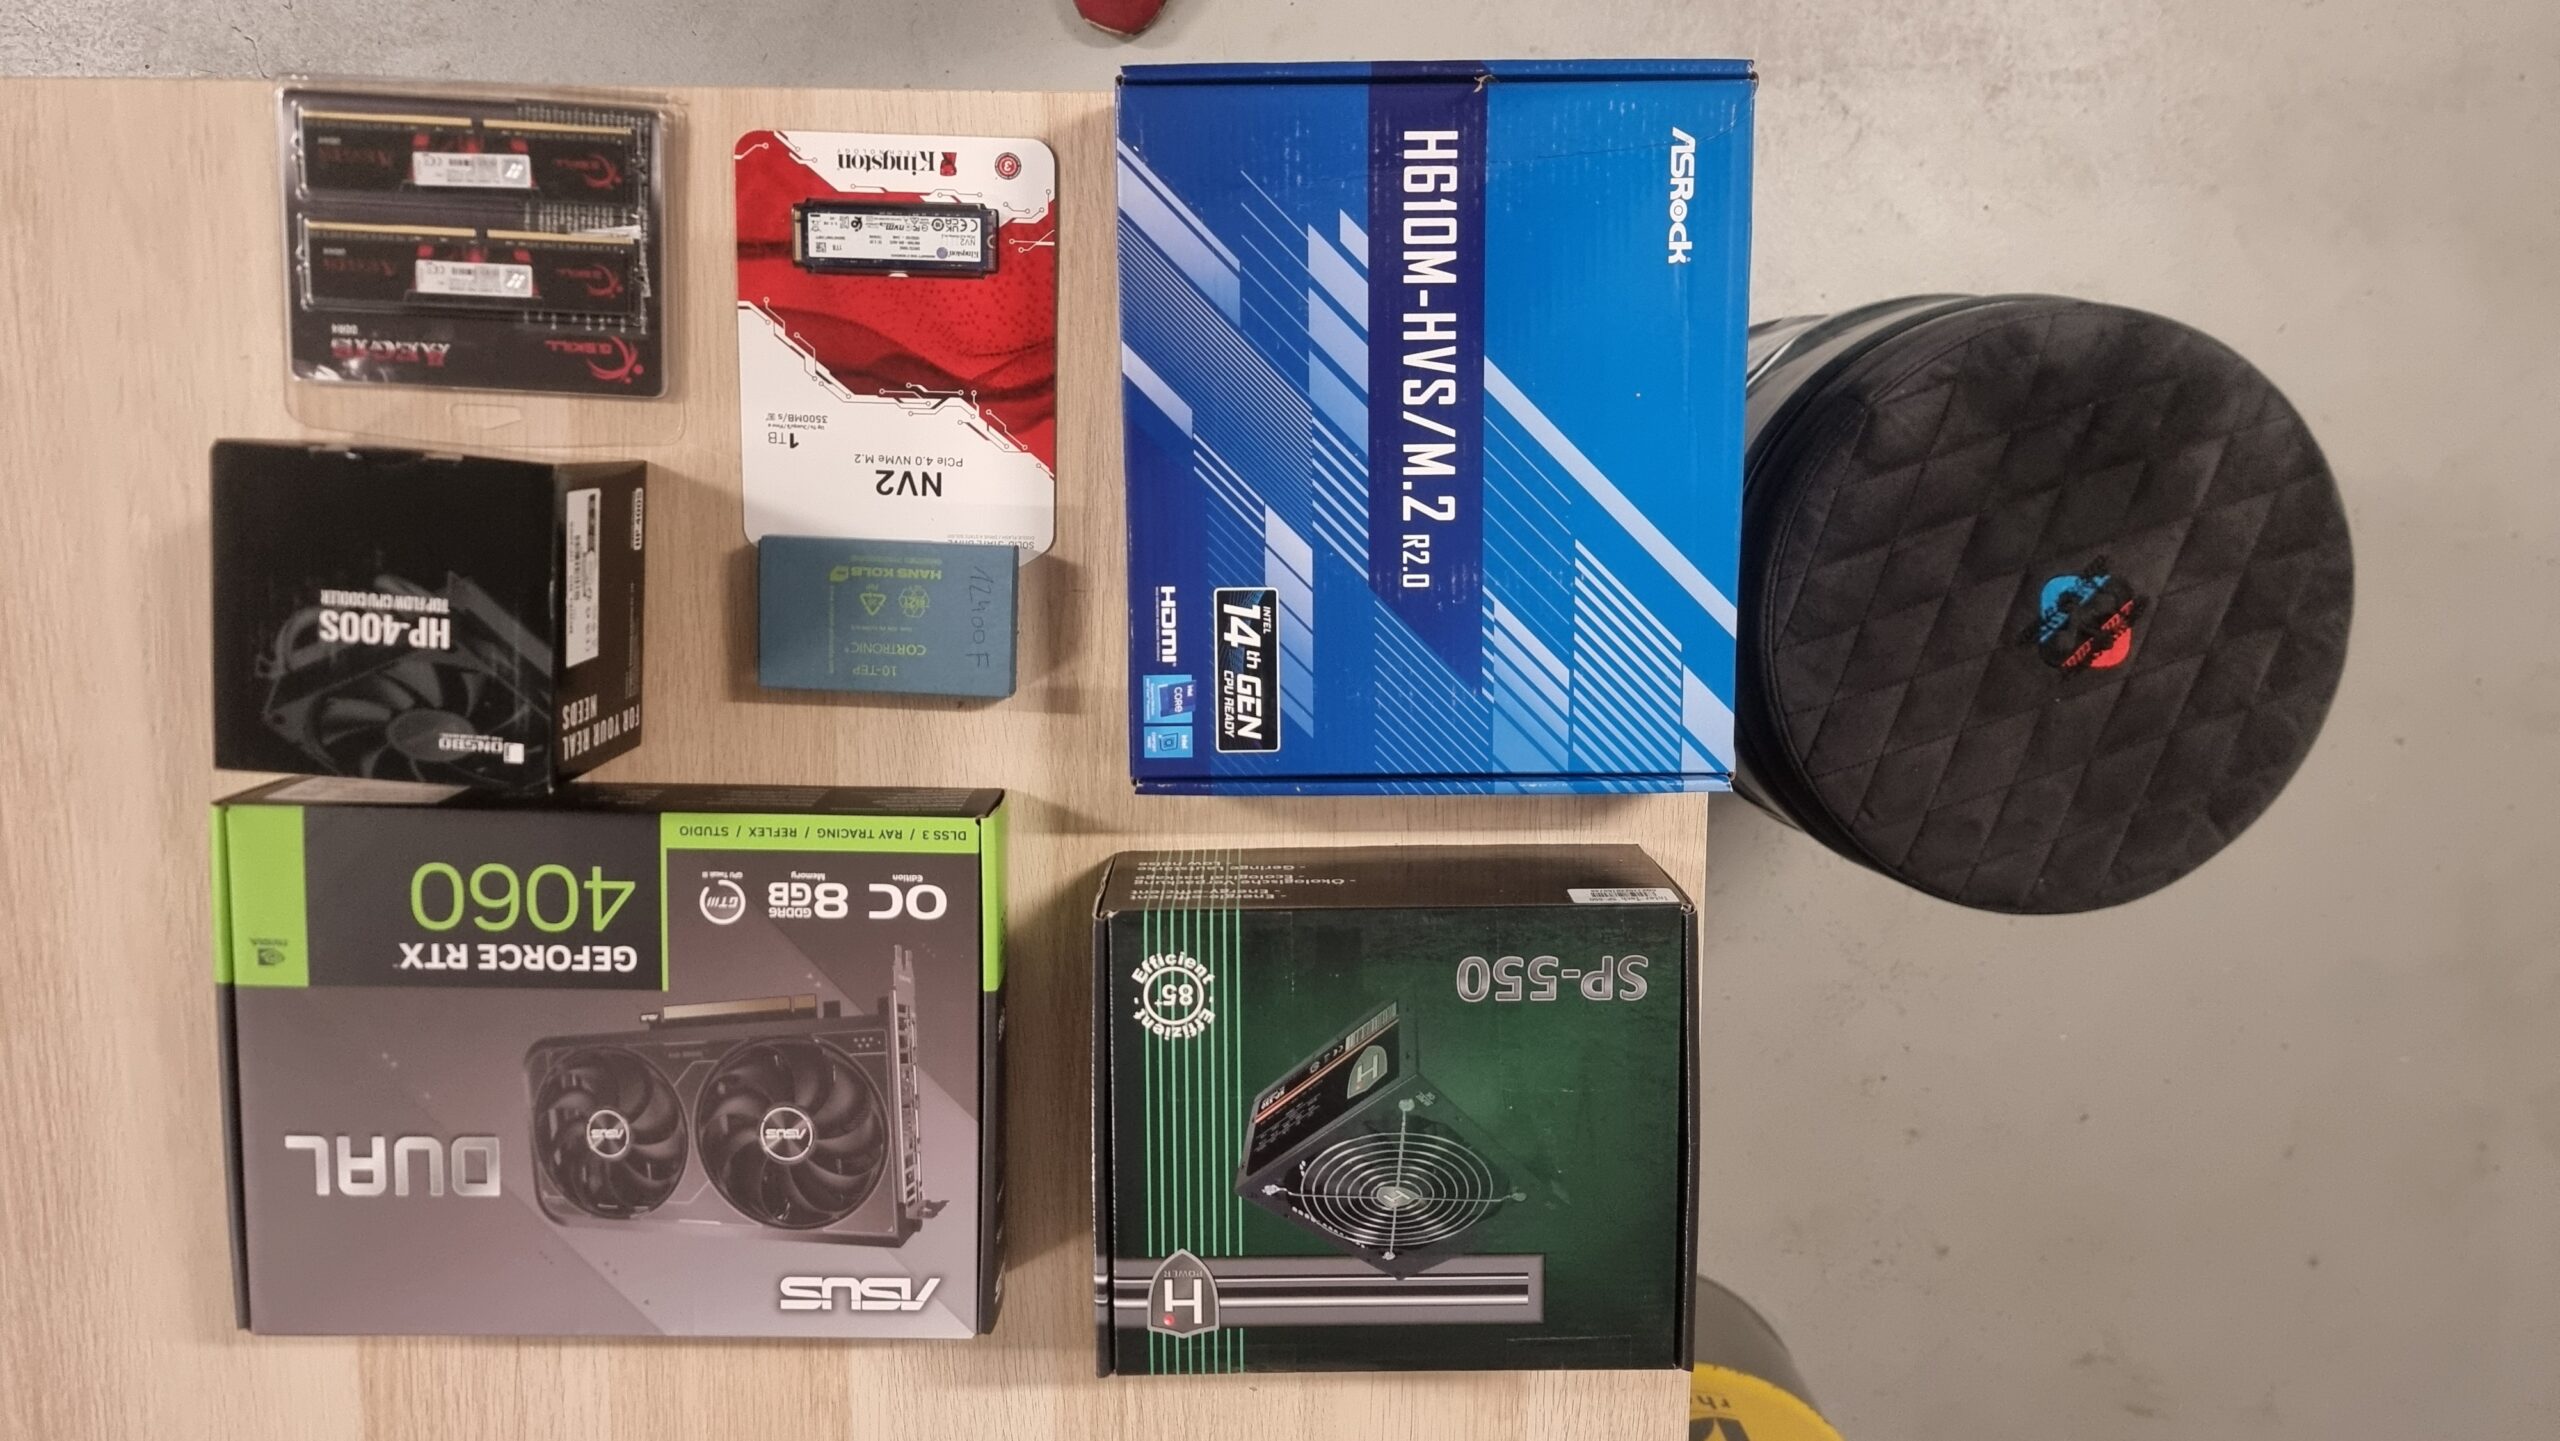
First, we arrange all the components and check that everything is ready. Once this is confirmed, we lay out the components on a pre-cut acrylic sheet on which we mark the positions for each mounting hole.

Drilling follows – holes to attach the board to the simulator frame and others to precisely attach each component. Some parts require minor adjustments to fit securely to ensure a clean and solid fit.

The unique element of this build is the custom made power button and holder. These were designed specifically for the simulator, and our partner Additio printed them in 3D from PETG. This adds functionality and a finished look to the final composition.

Once the hardware is in place, we get down to cable management to keep everything organized. Then it’s time for the software.
The system works in the operating system Windows 11 Pro. Additionally, we install software to control the seat shakers, force feedback steering wheel and pedals, and of course our simulation platform – eXpanSIM.
This integrated, open design assembly not only looks great, but is also accessible for maintenance and upgrades – exactly what we strive for in professional quality simulators.

Don’t miss part 4, where we will start with the design of the dashboard.