In the fourth part of our mini-series on the construction of the truck simulator SIM83-TS01, we focus on one of the most visible and important parts of the cabin – the dashboard.
It all starts with cardboard. Yes, you read that right. The first step is the creation of a cardboard prototype, with which we test the design and functionality. The cardboard allows us to quickly adjust the dimensions, layout and openings for buttons, switches and the screen. When we are satisfied with the design and ergonomics, we can transfer the prototype to digital form.


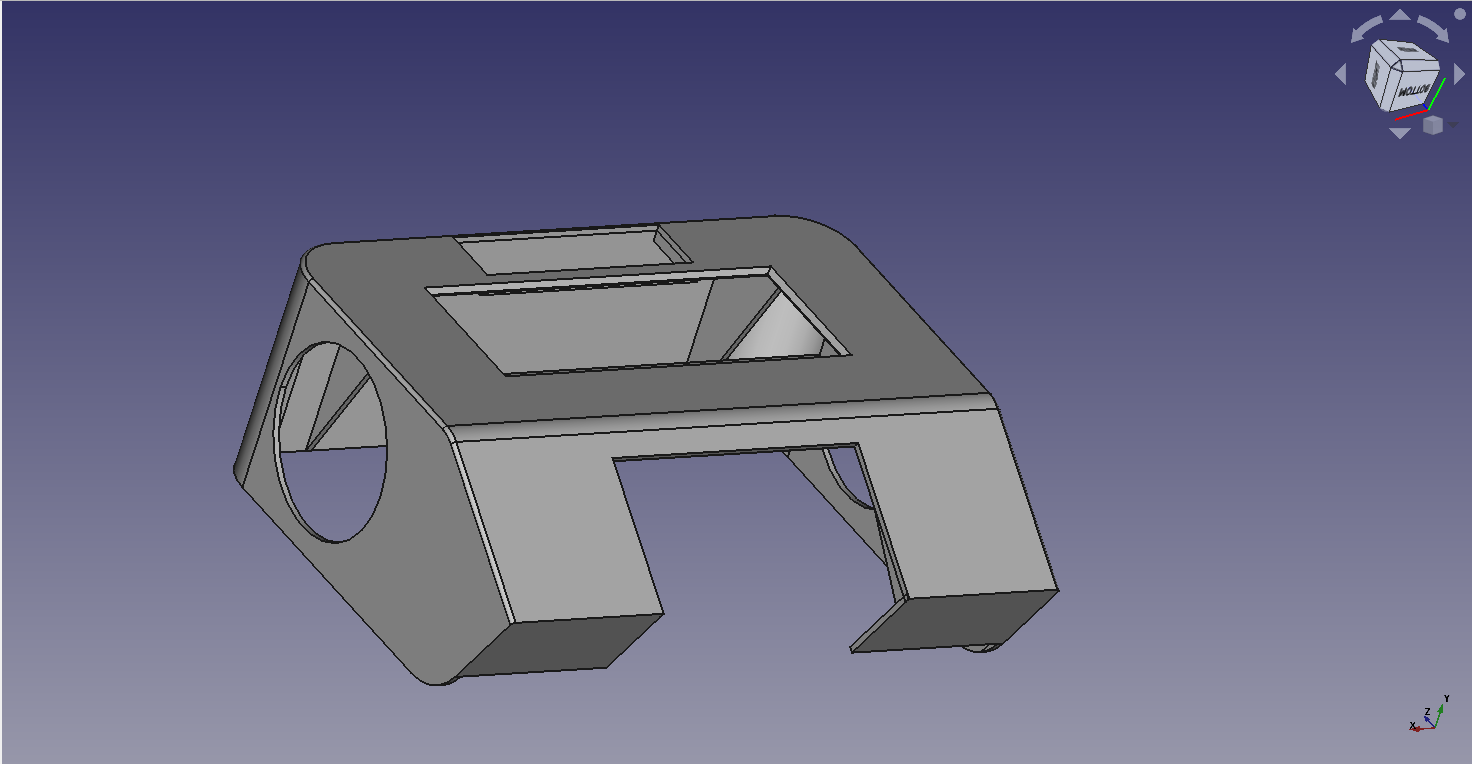
The digital model is then used for 3D printing, resulting in the final plastic product – a dashboard ready for installation. While we are waiting for the printing or production of the final part, we start preparing the support that will connect the dashboard to the main frame of the simulator.

We use a metal profile for the support. First, we accurately measure the dimensions, draw the cutting lines and mark the places for drilling. After cutting, sanding and painting, we get a robust and stable bracket that will reliably support the dashboard even during intensive use of the simulator.


Next comes the drilling of holes in the right places – both for attaching the brackets to the frame and for attaching the steering wheel base and steering wheel to the dashboard. After that, we can already connect all the components and perform the first test, which confirms that all the holes are drilled accurately and that the elements sit as if cast.

The next key element is the installation of a display that acts as a digital counter. It displays speed, rpm, gear, fuel level, warnings and other key information the driver needs while driving.

Finally, we install speakers in the dashboard, which take care of the sound of the engine, signaling and other sound effects. This completes this stage of the build – our dashboard is ready for the next step.

Which one will it be? Follow us and you will find out in the next part of the series.
GALLERY


